Little Thumbs Up,
Thanks to HHB again for trying out this recipe and sharing it in her blog.
Verdict - these tarts are buttery, fragrant and tasty coconut fillings are yummy. I love coconut tarts since young when we could get a piece for 20 cents.
The crust is soft, crunchy and crispy and I didn't have to tap the mould to dislodge the tart. The tart dropped off the mould when I invert it. These tarts have received numerous thumbs up, too like for the egg tarts.
EZ Coconut Tarts
These coconut tarts were made at the same time I made the easy egg tarts.
I doubled the portion for the tart crust and made two different fillings that is, egg custard and coconut filling.Thanks to HHB again for trying out this recipe and sharing it in her blog.
Verdict - these tarts are buttery, fragrant and tasty coconut fillings are yummy. I love coconut tarts since young when we could get a piece for 20 cents.
The crust is soft, crunchy and crispy and I didn't have to tap the mould to dislodge the tart. The tart dropped off the mould when I invert it. These tarts have received numerous thumbs up, too like for the egg tarts.
I did these tarts and the egg tarts at the same time.
[makes 10, tart mould size - 7 cm diameter]
For the crust
150 gm plain flour
1 tbsp custard powder
1 tbsp milk powder
100 gm cold butter - cut into cubes
½ tbsp caster sugar
½ large egg [about 25-30 gm] - beaten [I used 1 medium size egg]
½ tsp vanilla extract [optional] - I add this
For the coconut filling
125 gm fresh grated coconut
40 gm unsalted butter - melted
40 gm unsalted butter - melted
40 gm caster sugar
1 large egg
2 tbsp condensed milk
2 tbsp water
2 tbsp condensed milk
2 tbsp water
To Make the Coconut Filling

To Make the Crust
- Mix all ingredients in a bowl, set aside.

To Make the Crust
- Sieve flour, custard powder and milk powder into a mixing bowl. Place cold, diced butter into mixing bowl. With a fork or a dough scraper, cut the butter into the flour mixture until it resembles coarse crumbs.
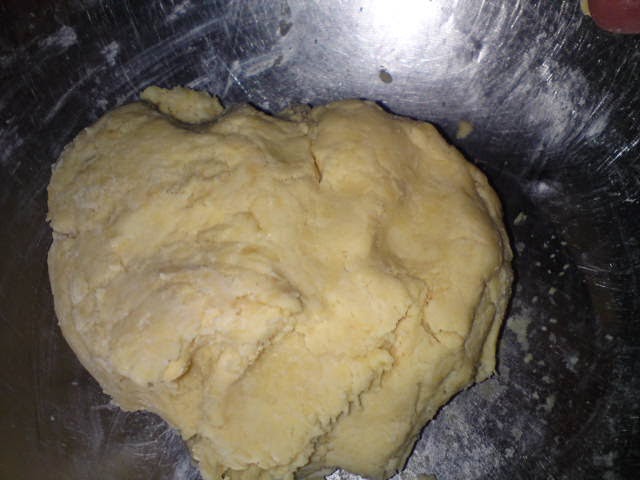
- Add in sugar, mix well. Make a well in the centre and add beaten eggs and vanilla extract [if using]. Mix with hand until the mixture comes together to form a soft dough. [Note: do not over mix or knead the dough as it may cause gluten to develop and the crust may become tough and hard upon baking]. Pat the dough into a round ball and flatten it to form a disc (easier to . Wrap with cling wrap and leave to chill in the fridge for at least 30 mins before use. I had left it to rest at room temperature [luckily dough is alright].
- When ready to use, divide the dough into 10 portion [about 30 gm each]. For each portion, roll dough into a ball, flatten to form a small disc and place into the tart mould [no need to grease mould].
- Press dough into the mould until the dough comes up to slightly above the rim. [Note: I hold the mould with both hands, then press the dough into the mould using my two thumbs while at the same time turning the mould with my other fingers in a clock wise direction, going round and round until the dough is evenly moulded to the tart mould]. Smooth the edges at the rim with fingertips to make it even.
- Fill each tart with the fillings to 80~90% full or till it comes just below the rim.
- Bake in middle rack in preheated oven at 180 degrees C for 30-35 minutes.
- Leave to cool on cooling rack. To unmould, invert the mould on your palm and tap the base of the mould with a spoon. The tart should release and drop onto your palm. Place a paper liner on the base of the tart and invert it back. Notes: Coconut tarts are best freshly baked. Any left overs can be stored in an airtight container in the fridge. Warm them in the oven and they will taste as good as freshly baked ones.This post is linked to the event, Little Thumbs Up organised by Bake for Happy Kids and My Little Favourite DIY, and hosted by Diana from the Domestic Goddess Wannabe


0 comments: